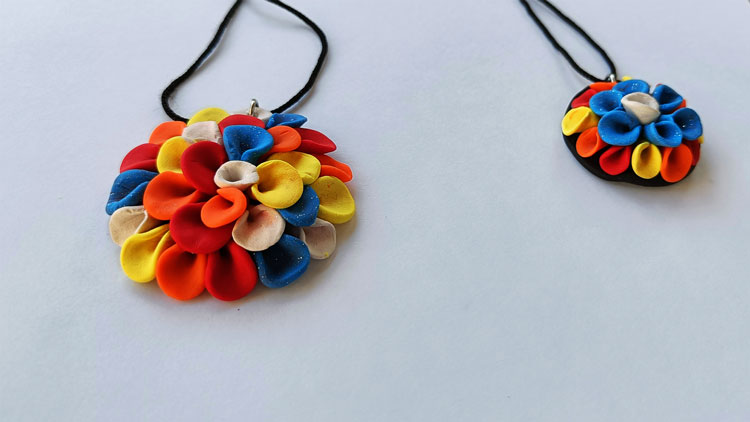
Crafting Beauty: A Step-by-Step Guide on How to Make a Fimo Pendant

Creating your own Fimo pendant is a wonderful way to express your creativity and design a unique piece of jewelry that reflects your personal style.
Fimo, a popular brand of polymer clay, offers endless possibilities for crafting stunning pendants that can be turned into necklaces, keychains, or even gifts for loved ones. In this step-by-step guide, we’ll walk you through the process of making a Fimo pendant that’s sure to catch eyes and spark conversations.
Set up your workspace with all the materials you’ll need within easy reach. Cover your work surface with parchment paper or use a non-stick surface to prevent the clay from sticking.
Knead the Fimo clay in your hands to soften it and make it more pliable. Conditioning the clay helps remove any air bubbles and makes it easier to work with.
Before baking, use a toothpick or a straw to create a small hole at the top of your pendant. This hole will be used to attach a jump ring later for hanging the pendant on a necklace.
Follow the instructions on your Fimo clay package for baking times and temperatures. Use an oven thermometer to ensure the correct temperature. Place the pendant on a baking tray lined with parchment paper and bake as directed.
Once your pendant has cooled completely, you can attach a jump ring to the hole you created and thread it onto a necklace chain or cord. You can also add a glossy or matte varnish for a polished look.
Your Fimo pendant is now ready to wear or share with others. Enjoy the compliments and the satisfaction of creating a beautiful, handcrafted piece of jewelry.
